|
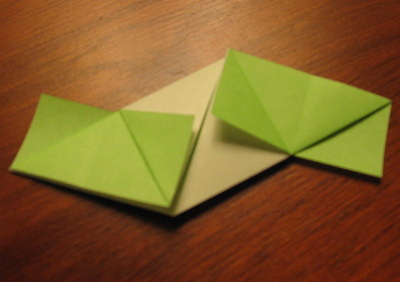
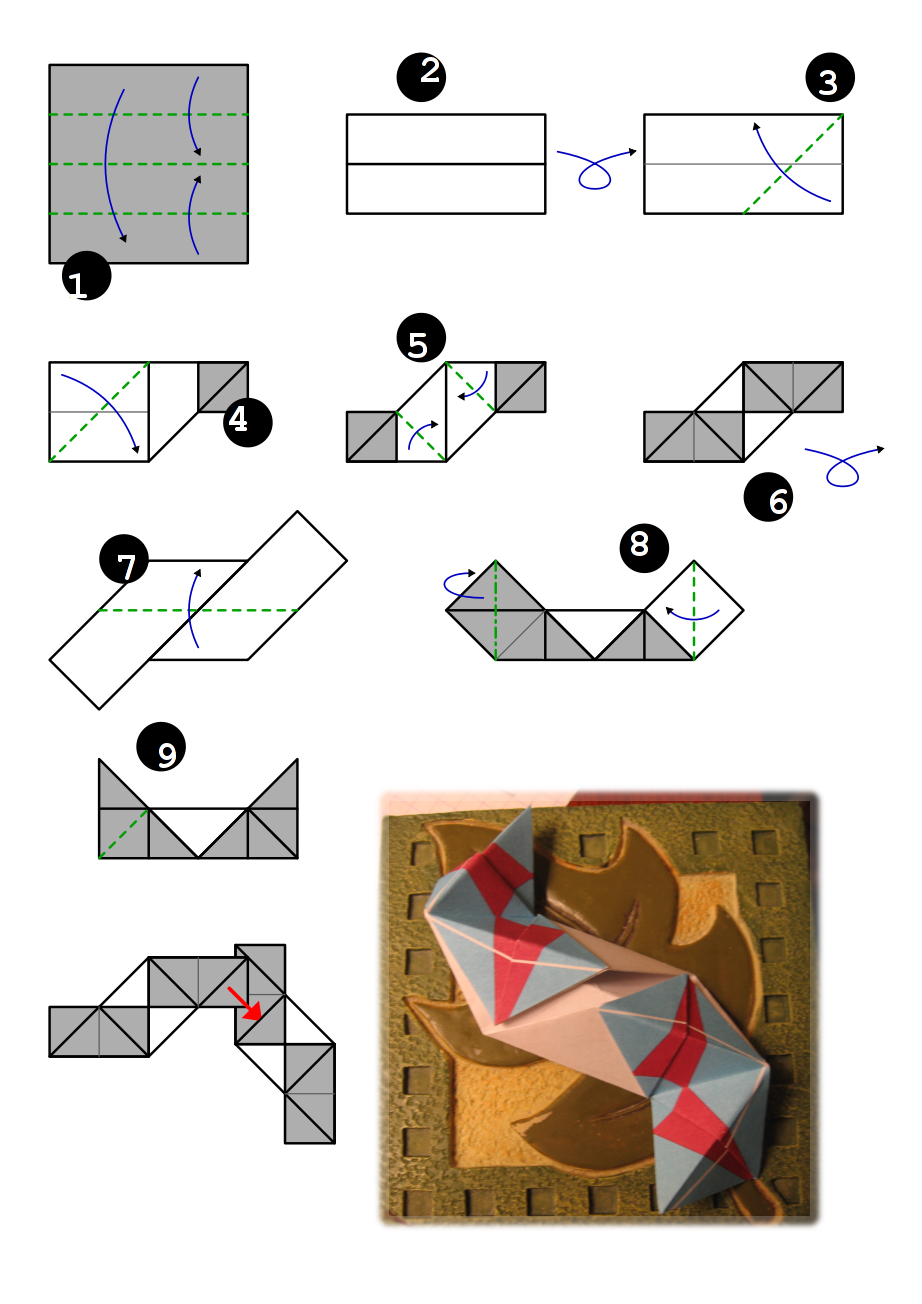
This is an edge-type module that can make 3-dimensional shapes with square and equilateral triangle faces.
Copyright 2008 Stephen Cavilia. Questions and comments should be sent to sac+origami@atomicradi.us. This document is licensed under a Creative Commons Attribution-Share Alike 3.0 United States License.
Module design taken from: Fusè, Tomoko. Unit Origami: Multidimensional Transformations. Japan Publications, 1990.
Tools used for creating these instructions: Inkscape, GIMP, LaTeX/TeX4ht.
All folding diagrams on one page: SVG PNG (with assembly photo)
Photo gallery including some models built with this module
Each module is made from one sheet of square paper.
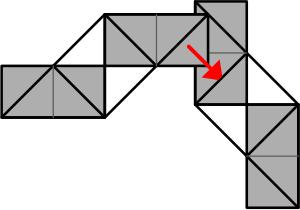
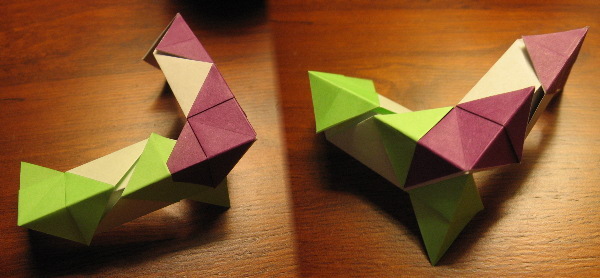
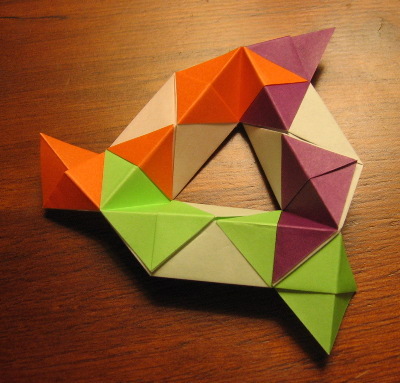
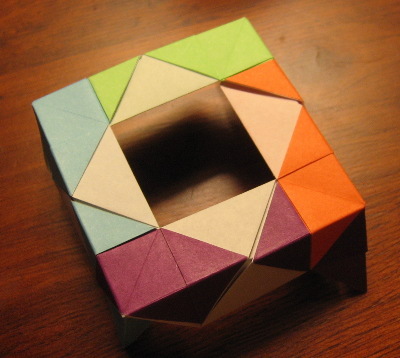
Each module connects to four others by inserting a point of one module into a pocket of another as in 7. Modules are arranged into rings of three or four edges to build any polyhedron with square or equilateral triangle faces, or a combination of both (cube, icosahedron, snub cube, etc.)
docid=sac-ori-mod-of1; docrev=4; sysrev=2


